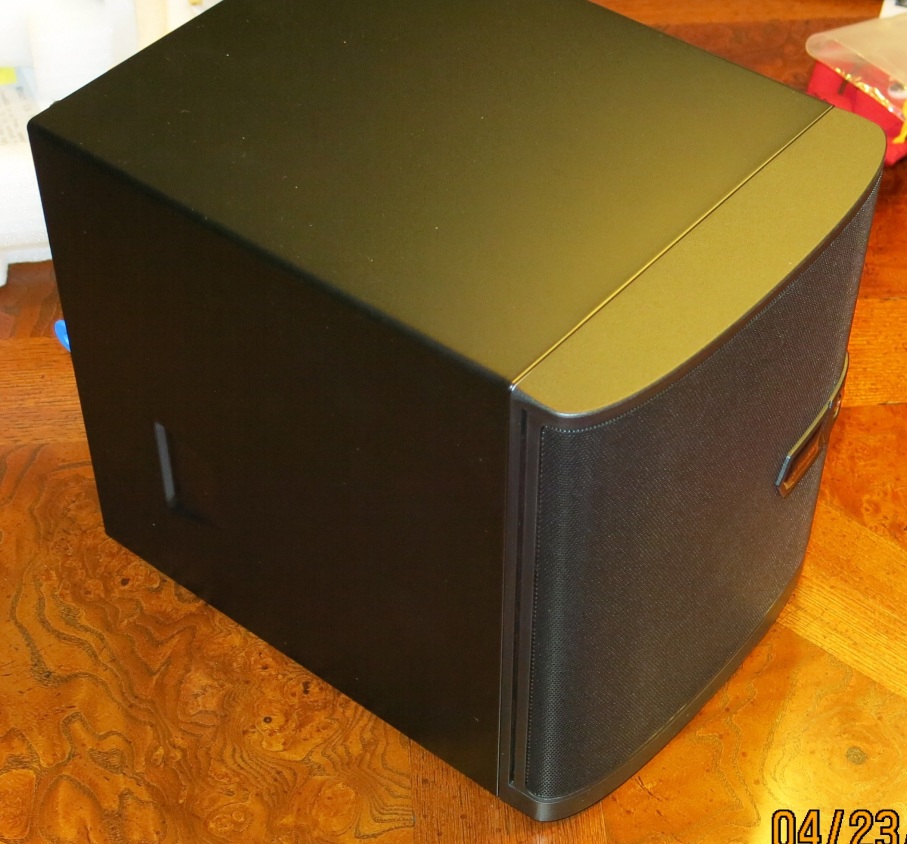
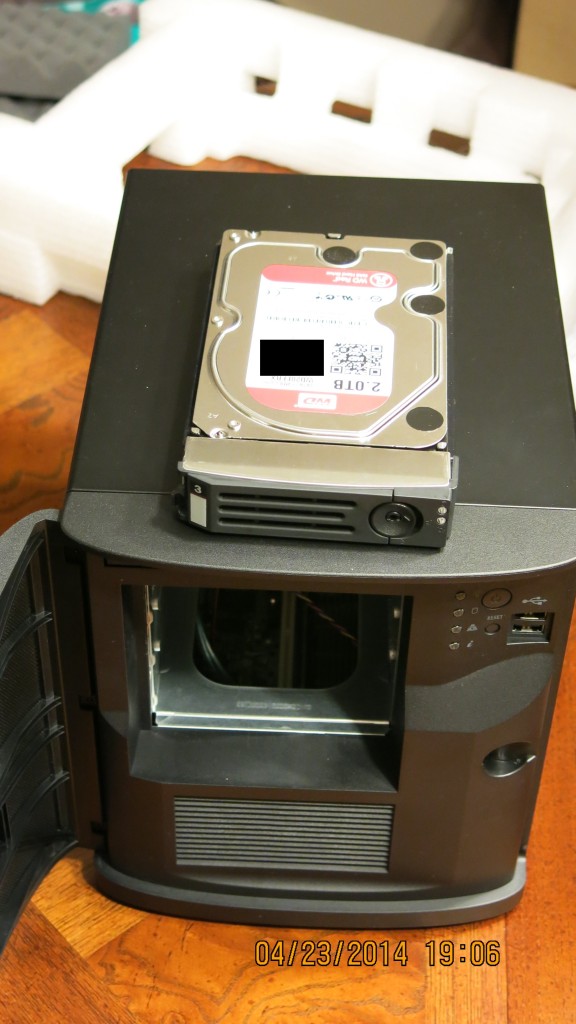
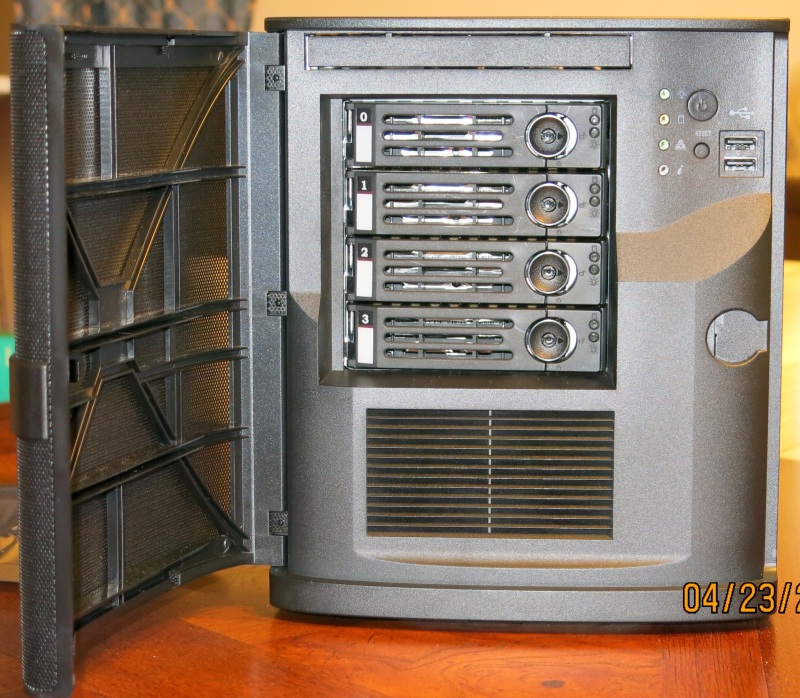
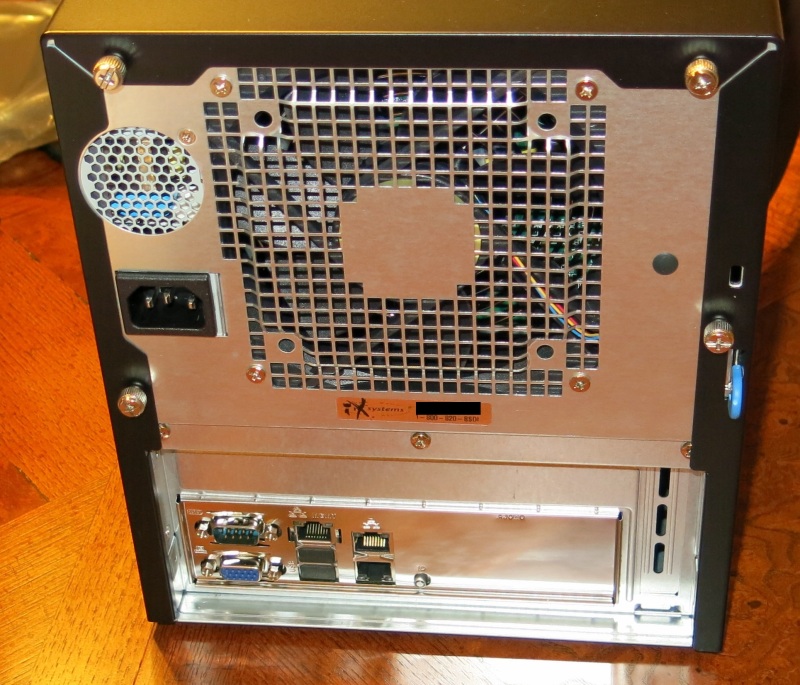
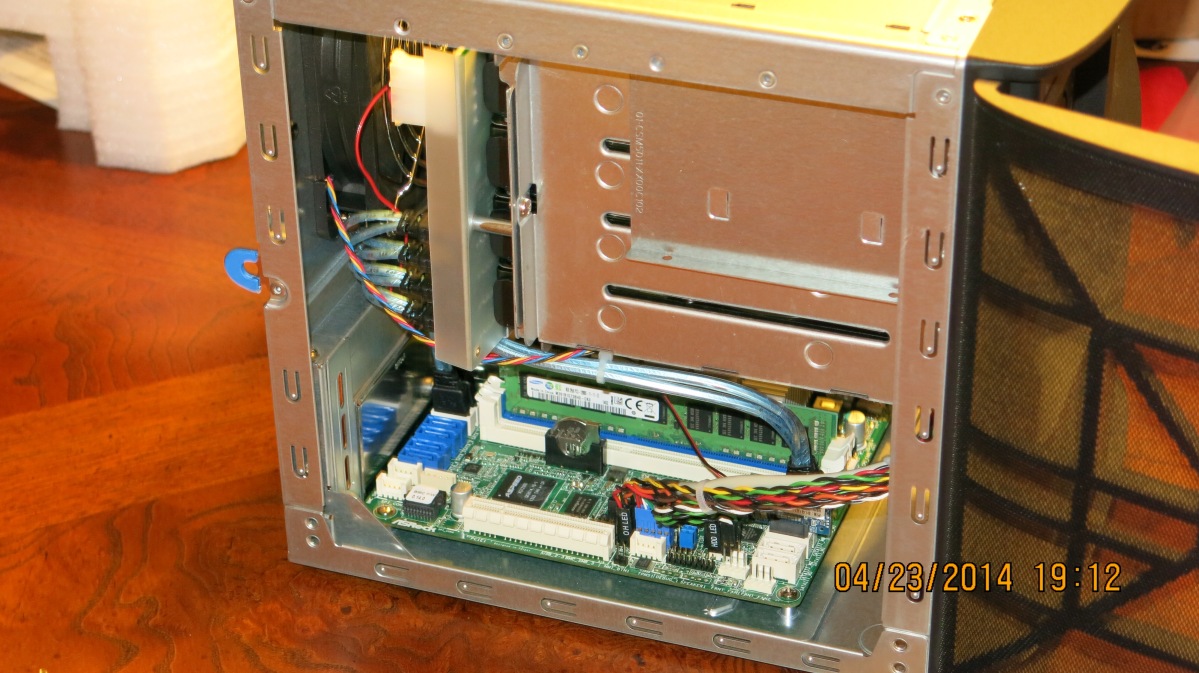
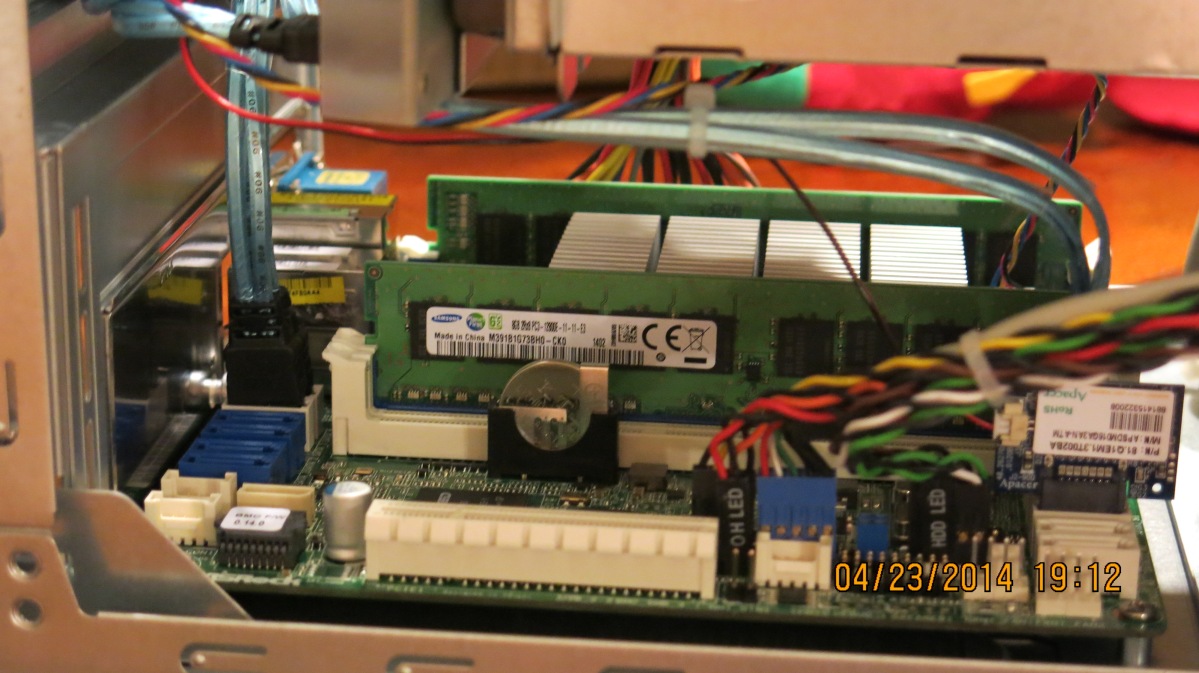
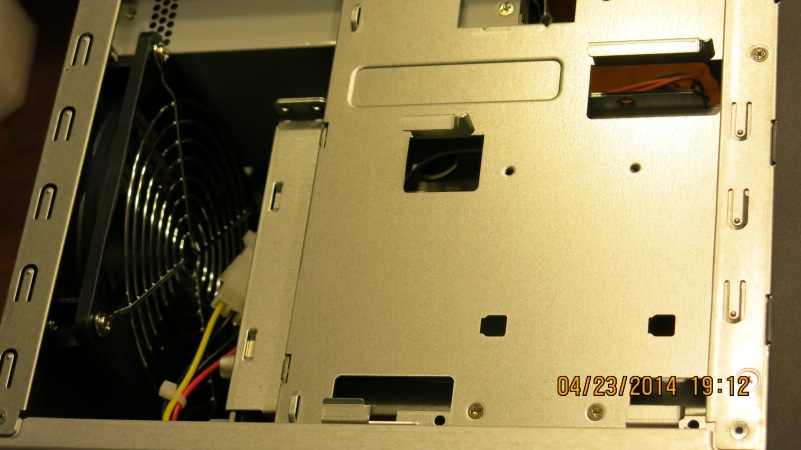
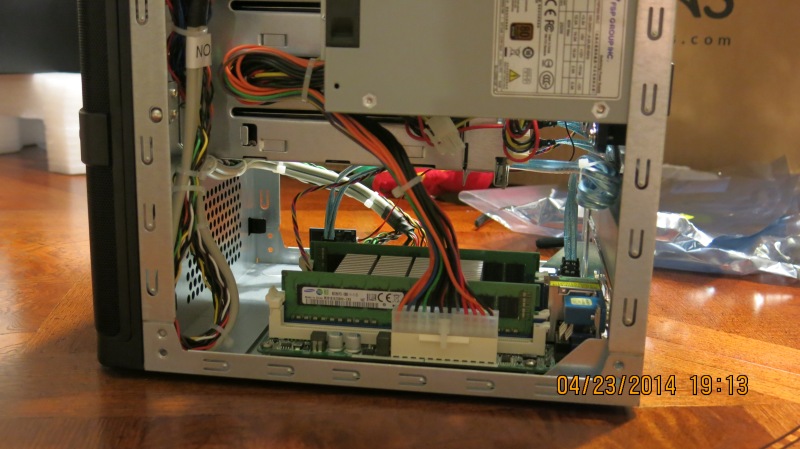
To my surprise, the FreeNAS Mini powered on the minute I plugged it in. I’m not a fan of that, so I changed that behavior in the BIOS.
As I went into the BIOS to change the power-on behavior, I was not surprised to discover that iXSystems has preconfigured the BIOS in what appears to be an optimal configuration for the appliance.
The system booted up to 9.2.1.2 from the SATA DOM I mentioned earlier. Using Firefox 29 (never use IE with FreeNAS) I was able to immediately commence with setting up my Mini the way I wanted.
Of course, the first thing I wanted to see in action was IPMI. If you aren’t familiar with IPMI, it’s like having local access to the box, but you are actually sitting at your desk (potentially even on the other side of the world). You login with a username and password via your web browser and… crap. Show stopper. So it has a username and a password!? There’s no documentation that mentions the IPMI username and password. Well, I’ll save you the searching. It’s admin/admin. I’ve already let iXsystems know about this little snag and they’ve promised to take care of it.
So where was I? Oh yeah.. you log in and you can do all sorts of cool stuff like monitor voltages & temperatures, access the remote console (which is just like sitting at the machine with a monitor, keyboard, and mouse), power on and shut down the machine. It does use Java, and you may have to tell Java that applets from your server’s IP are safe. You may also have to tell your web browser to allow popups otherwise the webpage won’t work. I learned both of these the hard way. This isn’t unreasonable at all, and every IPMI tool I’ve used has had it’s own stipulations. Check out the user manual for the IPMI to get a feel for what all the IPMI can do.
One very cool feature that all modern IPMI has these days is called “Virtual Media”. Basically you can mount an ISO from your desktop remotely on the machine… even if it doesn’t have a CD-ROM! For example, if you wanted to reinstall FreeNAS from CD, instead of burning a disk and temporarily hooking up a CD-ROM drive you just mount the ISO in IPMI. Then you power on the machine (again remotely!) and tell the bootup sequence to choose your virtual CD-ROM drive. Easy installation! (I’ll use this later and have a few things to say about it.. so stay tuned.) If you plan ahead, you can literally build the hardware with IPMI supported, then walk away and do all of your setup of the BIOS, installing of OSes, and use of the OS itself through IPMI. it’s very handy; once you have a server with IPMI you’ll realize you won’t buy another server without it again.
After booting up and setting a root password for FreeNAS I figured I should do a WebGUI upgrade to the latest version. 9.2.1.5 here I come!
I won’t bore you with standard benchmarks. Anyone that is familiar with ZFS knows that after RAM and CPU the most important consideration is the performance of your drives. Plenty of other websites have already covered basic benchmarking. So what have I done for this review? Well, here’s what I’ve done and why…
A lot of people (myself included) haven’t really played with one of these Avoton Atoms. Allegedly they are fast enough for a server, but are they really? I’ve done some crazy things and figured out what the upper limit of this hardware is.
First, I installed a 10Gb Intel LAN card into the FreeNAS Mini to see what kind of performance can be expected. It already comes with dual, onboard 1Gbps Intel LAN, but some people might want 10Gb to their desktop in extreme situations. I also want to know if it’s possible to saturate both Gb LAN ports simultaneously. If it can’t, then the dual Gb feature is going to be a little bit of a disappointment. I’ve also tested all of the different compression routines offered in ZFS so I can prove once and for all that lz4, while great and fast, isn’t all its cracked up to be and in my opinion shouldn’t be the default.
Secondly, I’ve installed Plex in a jail. I’ve copied 3 movies to the jail and I’m going to stream 1080p movies to two android phones and my Roku. The intent is to force Plex to transcode the movies and see what kind of CPU utilization we get. I don’t think it’s unreasonable for a home user to be transcoding to two or three devices simultaneously, so this should be a good test.
Finally, I’m going to put my mini under the worst possible conditions that are likely to occur for any user. To wit, a scrub during a fully occupied CPU. If the box has adequate cooling for these conditions, then, it has adquate cooling for any conditions.
So why am I doing this somewhat obscure tests? Most people want to know what the upper limits of their box. In particular, the cooling and potential CPU performance are of chief concern for many people considering this box.
I unknowingly ended up having significant problems with 9.2.1.5, but I’ll talk about those in part 3 since I’d like to keep some distinction between my review of the Mini and my problems with 9.2.1.5. So let’s get started.
CIFS throughput
First up is 10Gb LAN. I dual boot my desktop in Linux Mint 16 and Windows 7 Ultimate. I have 32GB of RAM on my desktop and the machine has an i7-4930k with SSDs for both Windows and Linux. In my experience Linux is faster at transferring data over CIFS than Windows is. I have no clue why, I just know it does. Seems a bit weird, but it’s always been true for my setup. I have performed tests for Windows using CIFS. On Linux I have done CIFS and NFS tests. I also used a RAM drive on my desktop since I didn’t want the bottleneck to be my SSDs. Additionally, I’m using three Intel X25-E 32GB SSDs in a striped pool for maximum performance to ensure that my bottleneck isn’t my SSDs. These are only SATA-1, but they use SLC memory so I don’t have to deal with potential performance issues since there is no TRIM support for zpools at this time. Since the purpose is to figure out what the upper CPU limit is with relation to throughput, we need the fastest we can get. If my 3 SSDs end up being the limiting factor I’ll be pleasantly surprised. Most people aren’t going to install a 10Gb LAN card in a Mini anyway, I’m just trying to find the limit. Even if my SSDs end up being the limiting factor, it will prove beyond a doubt that a Mini is more than capable of handling whatever load most home and small business users will need it for as well as some of the more hardcore server users.
NFS is multi-threaded and is not known to be CPU-intensive. CIFS, on the other hand, is single-threaded on a per-user situation and is very CPU intensive. How will this CPU fare on tests like these? I’d like to see 250MBps performance on 10Gbps ethernet. Now before I tell you the results, I want to remind you that we are talking about an over-spec’d 10Gbps ethernet, maximum saturation conditions here, and this is not how most of the people reading this will equip their networks.
I’ll also sneak in a little bit of data on Jumbo Frames since so many FreeNAS users out there read about it, wet your pants when you read things like “free performance”, then can’t figure out why your FreeNAS box isn’t working right with jumbo frames. In short, jumbo frames is something that can be useful for only an extremely narrow set of users. Couple that with the networking hardware necessary and most home users will see no performance benefit, but will almost certainly have problems.
In Windows, I got a disappointing 268MBps when the transfer started, with an average of just 205MBps over the total copy (25GB of data). If you are going to repeat this test, keep in mind that many firewall and antivirus solutions will seriously impact the throughput of network shares, so be sure to disable them. Not quite enough to proclaim the dual LAN useful if you are wanting to maximize network throughput… but keep reading.
In Linux Mint 16, I got 350MB/sec! Holy smokes! So clearly the CPU on the Mini can throughput enough to saturate both Gb LAN ports simultaneously. It appears that Windows must do something relatively unique and that uniqueness hurts CIFS performance.
NFS throughput
I didn’t do Windows NFS throughput testing because I didn’t really see a point. Personal experience as well as experience from others in IRC demonstrate that NFS support on Windows just sucks. I got a disappointing 21MB/sec through NFS on Windows while I could saturate my Gb LAN in Linux with NFS.
Here are the speeds I got with Linux Mint 16 using NFS. I also recorded average CPU usage and the transfer rate for all of the different compression routines so you can see how they compare. For this test I used incompressible data since that’s the “worst case” for compression. The following table shows, in my opinion, shockingly good numbers for throughput in a variety of compression scenarios.
| Compression | To the Server (% CPU) | To the Server (MB/sec) | From the Server (% CPU) | From the Server (throughput) |
|---|---|---|---|---|
| OFF | 28 | 388 | 20 | 524 |
| ON | 75 | 388 | 17 | 551 |
| LZJB | 74 | 349 | 18 | 551 |
| GZIP | 75 | 81 | 25 | 616 |
| GZIP-1 | 75 | 82 | 25 | 552 |
| GZIP-9 | 75 | 79 | 25 | 582 |
| ZLE | 35 | 374 | 25 | 582 |
| LZ4 | 30 | 388 | 25 | 551 |
Now for the shocker… my test pool only does about 650MB/sec maximum. So I’m getting high enough performance that my pool may have been limiting these tests. In any case, we’ve proven beyond a doubt that if you do compression with anything except gzip, it won’t be your limiting factor on your FreeNAS Mini.
If you look at the speed when compression is off coming and data is flowing out of the server, that’s the slowest speed. My guess is that with compression off the Atom is clocking itself down because it thinks loading is low enough to warrant a lower clock speed. But when compression is enabled the extra loading is actually making the CPU do more work and therefore stay at a higher clock speed. In any case, I’d say this is a resounding success story. Turn compression on (well, anything except gzip) and be happy!
Remember earlier when I was proclaiming I was going to prove LZ4 shouldn’t be enabled by default because it’ll just be slow on a decrepit CPU like this? Well, now I have to eat my words. For reasons I don’t fully understand LZ4 really hurts my main server. But on the Mini the performance difference is unnoticeable. I’m not alone in this observation, so clearly more testing will need to be done to determine why this is the case. I have some theories, but I will do more testing before I start discussing those theories.
Jumbo Frames
Yep, it’s time to talk about jumbo frames. Well, I did every test you see both with and without jumbo frames. Luckily since I had this all scripted it was easy to change the MTU and redo the tests. Ready for the truth?
Well, I enabled jumbo frames and I could never find a noticeable performance difference. Jumbo Frames came about years ago when Gb came out and CPU performance was much lower, processing all those packets was a serious load on your CPU. Fewer packets meant lower load on the CPU. But, thanks to faster CPUs that loading is no longer a problem. So don’t go enabling jumbo frames because you think it’ll give you a bonus. It won’t. There’s plenty of reasons why you don’t want to enable jumbo frames, but I’ll talk about that some other time. For a box that you want to “just work” and give you very respectable speeds, the default MTU is perfectly fine and recommended.
LACP / NIC teaming
I did enable LACP for a few minutes. Mostly just to prove it would work, and it did. Since I’m just a single user there is no performance benefit to enabling LACP. Yep, you heard it right.. LACP doesn’t magically make your two 1Gb links into a single 2Gb link.
In fact, if you are doing iSCSI, you might not want to do LACP and you might want to setup MPIO instead. Then, you can actually have what is roughly equivalent to a 2Gb link. But, iSCSI isn’t the most ideal protocol to use if you just want to share a bunch of files. So do some research and decide if you want to go with iSCSI for yourself. Generally speaking, unless you have a pressing need for iSCSI, you should probably stick with a file sharing protocol like AFP, CIFS, or NFS.
Plex Transcoding
So Plex can do two things for you… transcoding or direct streaming.
Direct streaming is not particularly CPU intensive, I’d expect this box to be able to directly stream ten streams. Your limitation–more than likely– will be your pool’s ability to keep up with the streams, your 1Gb LAN port and not the CPU itself.
However, transcoding is extremely CPU intensive. I’d have expected the box to be able to barely handle 1 stream, but some people have reported 3 at a time. So I plan to stream 3 different 1080p movies to my Roku, Droid Bionic (Android phone), and HTC One M8 (Android phone) simultaneously and see how the CPU can handle that. I think transcoding 3 movies simultaneously at 1080p is about the maximum I’d expect a household to want to do at once, so if the CPU can handle that then I’ll definitely give it two thumbs up. If you are doing anything that’s a lower resolution than 1080p, the CPU will be even less strained so you could potentially do many more streams.
Before I give numbers, I think I should explain the behavior of transcoding in Plex. Some devices will fill a given buffer before playback starts. Others will start within a second or two and will play while the buffer fills. In either case, when you first start a movie you can expect the loading on the Plex server to be quite high (near 100% CPU utilization). If your CPU is already very taxed, there may be a balancing act while the Plex server tries to catch up on all of the devices. In these tests, I have the clients all set to the highest bitrate and highest quality.
The first device i tested was my Roku. CPU usage on the Mini fluctuated between 10 and 15% after initial loading. Each time I added a device, CPU settled out at an additional 20-30%.
Each time I added a device the buffer took longer to fill because there was fewer available CPU resource to allocate to filling the buffer. But, none of the devices skipped.. ever.
Do you see this? I just transcoded 3 different movies simultaneously without it skipping! That is just amazing to me!
The oven.. aka hotbox test
I put the regular WD Reds back in the server and filled it up with data. Then I started a scrub. The drives warmed up only moderately. With the system idle the disks themselves sit at about 28-30C, and they warmed up to 35C during a scrub. Even with Plex transcoding and the CPU sitting at about 80% the CPU temp only got up to about 57C peak while hard drive temperatures remained unchanged for the workload.
I was hoping to find a program that would substantially stress the CPU. The CPU was a bit harder to test. I couldn’t find any good way to stress the CPU without requiring disk usage, which distracted from the scrub. So if you know of one PM me on the FreeNAS forums and I’ll give it a go. But, considering the airflow from that fan, my guess is that the CPU won’t get into any dangerous area.
Other useful tidbits
So in my playing around with the server I learned a few things that might be useful to know. Here they are in no particular order: (I may have mentioned them elsewhere, but I figured I’d toss random tidbits together at the end for curious individuals)
- All of the hardware in the new FreeNAS Mini is awesome. No complaints. The hardware is solid and the hardware is definitely capable of doing what almost all of us could ever do with it. This is definitely a contrast to the old FreeNAS Mini (especially because of the ECC RAM now being used). The only limitation for some people will be the 4 disks. I don’t consider this a problem since you’re probably looking at the Mini because it’s small. After all, there’s no such thing as a small 24 drive server.
- iXsystems puts some cool finishing touches on things. The latest BIOS, proper BIOS settings, testing of the hard drives before they ship them to you are all gravy.
- The price is quite sensible to me. With this hardware list, I can only save a very modest amount of money by buying the parts myself, and then I wouldn’t have the snazzy logo, nor would I be supporting iXSystems, nor would I have the opportunity to call in for support. If anything, I’m surprised it’s not more expensive for what I’m getting.
- According to the sysctl dev.cpu.0.freq_levels the CPU can clock down as low as 150Mhz. With powerd disabled the CPU sits at 2401Mhz. Enabling powerd clocked the CPU down to as low as 300Mhz from what I observed. But, the power savings was a whole whopping one watt. I discussed power usage in early 2013 and validated that powerd really isn’t that useful with today’s CPUs. Older CPUs didn’t turn off unused cores and put themselves to sleep. But today’s CPUs will do all of that automatically in the hardware. Powerd also caused some performance problems for me. My old server didn’t seem to want to ‘wake up’ when it should have with the default powerd settings. If you have any Intel CPU that is socket 1366 or newer (socket 1366 came out in Nov 2008) you are probably better off leaving powerd disabled.
- With SMART enabled the little SATA DOM has a temperature sensor. Unfortunately I don’t see how I can tell FreeNAS to not monitor ada2, but it basically always sits at 40C-44C. Going to Storage -> Volumes -> View Disks doesn’t even list the SATA DOM so I can’t turn off SMART monitoring. Not exactly sure why. Since I like to set my temperature to 37C to avoid the nasty 40C temperature that Google’s white paper has deemed to be a known cause for shorter disk life I get emails every time the server boots up that it’s over 40C. Why at boot-up? Because when you turn the box on it either (a) heats up over the set-point within a few minutes and sends an email or (b) it’s already past that setpoint so when smartd starts up on the system it immediately triggers a temperature trip. In either case, I’ve never seen it above 44C. Also since it’s flash based 44C is not a concern for shortening the life of the DOM.
- When doing the Plex Transcoding the CPU went from an idle 37C up to 57C while at 100% loading, but then settled down to about 50C. While many people will argue against the temps citing they are ‘too high’ let me remind you that Intel’s spec on this CPU is 97C. While not ideal, I don’t see any reason to worry about a temp below about 70C in this application. It is a passive heatsink. It’s not expected to be as cool as your desktop with a big fan and heatsink attached. That’s one of the attractive qualities of this CPU though.
- I have some reservations about using Asrock as a motherboard. Companies that make good desktop motherboards don’t typically make great server boards. If you look around the forum we tend to snicker at people that go with Asus, Gigabyte, and other brands that are typically found in desktops. The engineering considerations involved with creating a server board are different than for a typical desktop board. Many people don’t appreciate the differences, which is also why so many lose their data. Supermicro is basically the “go-to” brand in the FreeNAS forums if you want a solid foundation for a FreeNAS server. While I don’t have any direct complaints for Asrock at this time, I prefer to wait a few years to see how they pan out long-term. Supermicro really fumbled the ball with their equivalent board the A1SAi-2750F. If it weren’t for the SO-DIMM slots that use unregistered ECC RAM it could have very well been the board to go inside the Mini. I have no doubt that if there is ever a hardware incompatibility problem with this board that iXsystems will take the initiative to fix it and release a patch. So don’t be too concerned about this. I definitely wouldn’t have any concern about recommending a friend or family member buy one.
- It would be real nice if the FreeNAS Mini had a tone that played when it finished booting and when it started a shutdown sequence. I’ve already requested this in ticket 1938. Then the Mini, if it was sitting in an office, could be heard when it comes up and when it shuts down in small environments.
That’s it for my review of the hardware. Overall I can’t find any faults at all. The concern that the CPU might not be a good fit for a small home server is clearly unfounded. It passed every one of my tests. CPU seems more than capable and the other hardware in the box is exactly the kind of stuff I’d recommend.
If you want to read my story with the 9.2.1.5 fiasco, head on over to page 3 (coming soon). But in terms of the Mini, I just have to give it two thumbs up. It’s an amazing product!
